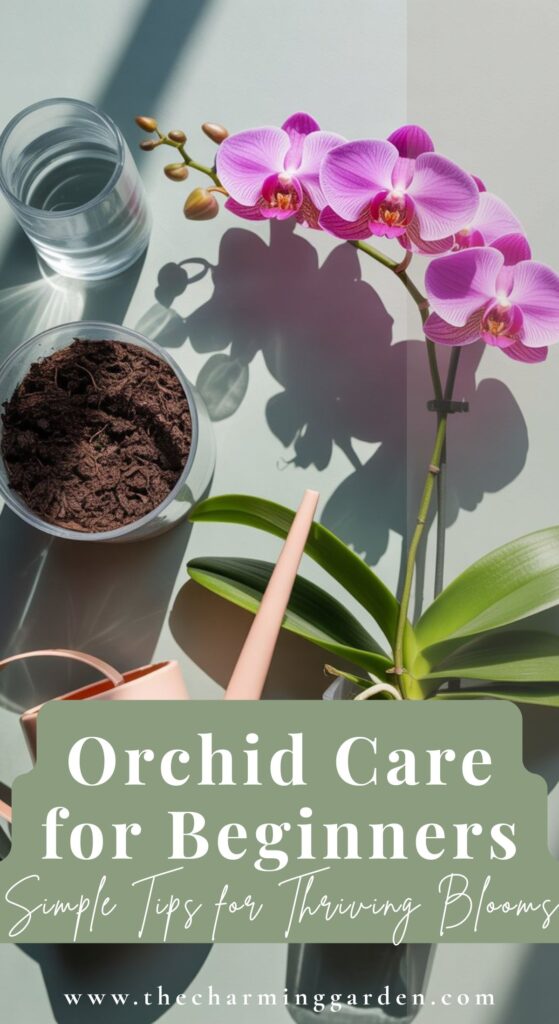
Orchid Care for Beginners: A Simple, Confidence-Building Guide
Please note: This website contains affiliate links. As an Amazon Associate, we earn from qualifying purchases at no additional cost to you.
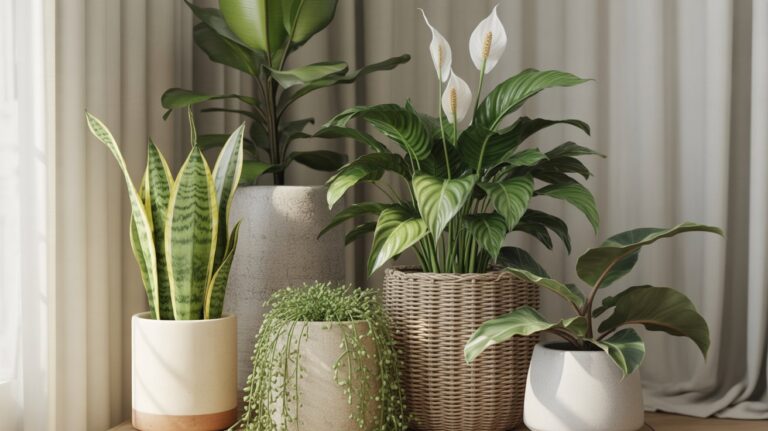
Orchids have a reputation for being “fussy,” but the truth is this: once you understand a few basics—light, water, and airflow—they become some of the easiest, most rewarding indoor plants to grow. Consider this your simple, non-intimidating introduction to bringing these elegant bloomers into your home.
The Easiest Orchids to Grow
If you’re just starting, choose orchids that are forgiving and bloom reliably indoors:
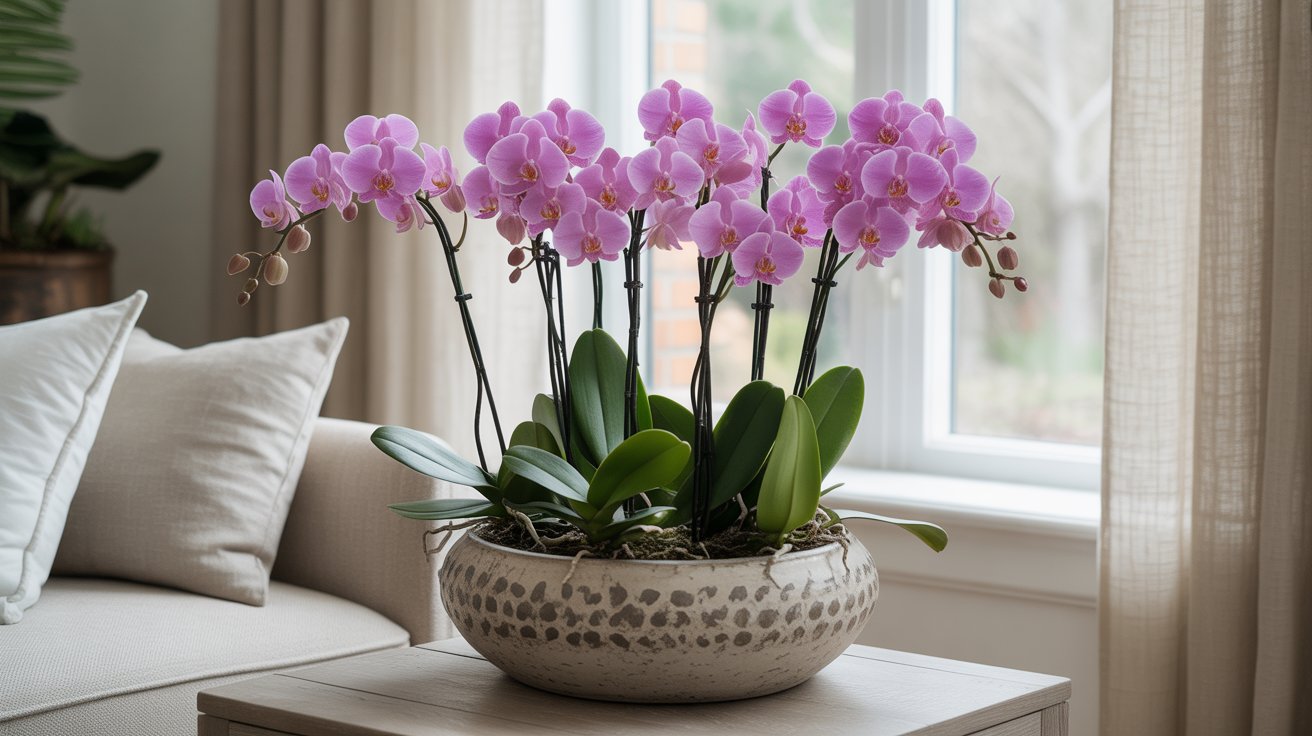
1. Phalaenopsis (Moth Orchid)
Your best beginner orchid. Long-lasting blooms, adaptable to home environments, and widely available.
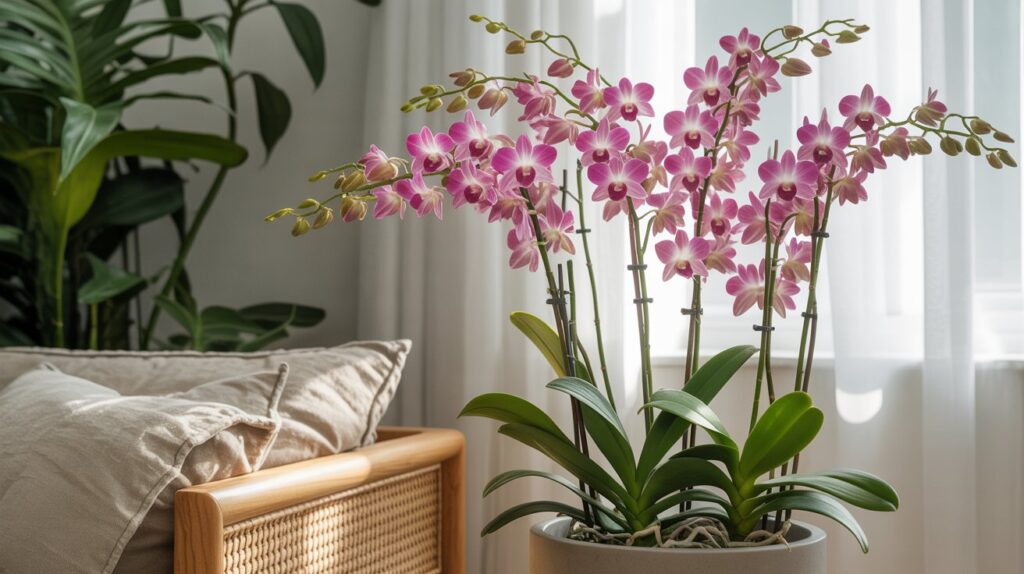
2. Dendrobium
More upright and architectural. They love bright light and produce generous sprays of blooms.
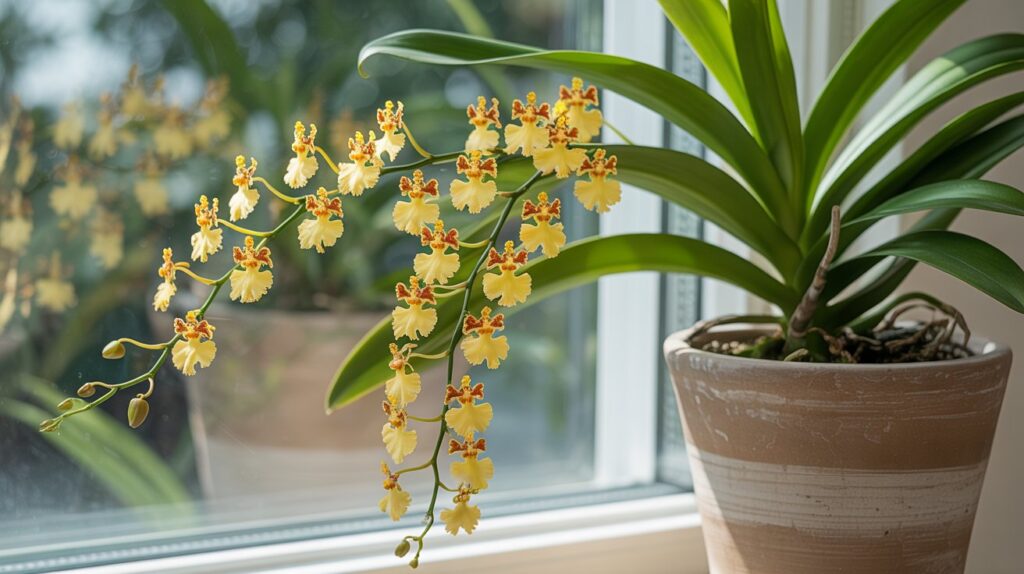
3. Oncidium (Dancing Lady Orchid)
Charming, lightly fragrant flowers that look like fluttering skirts. Great for bright rooms.
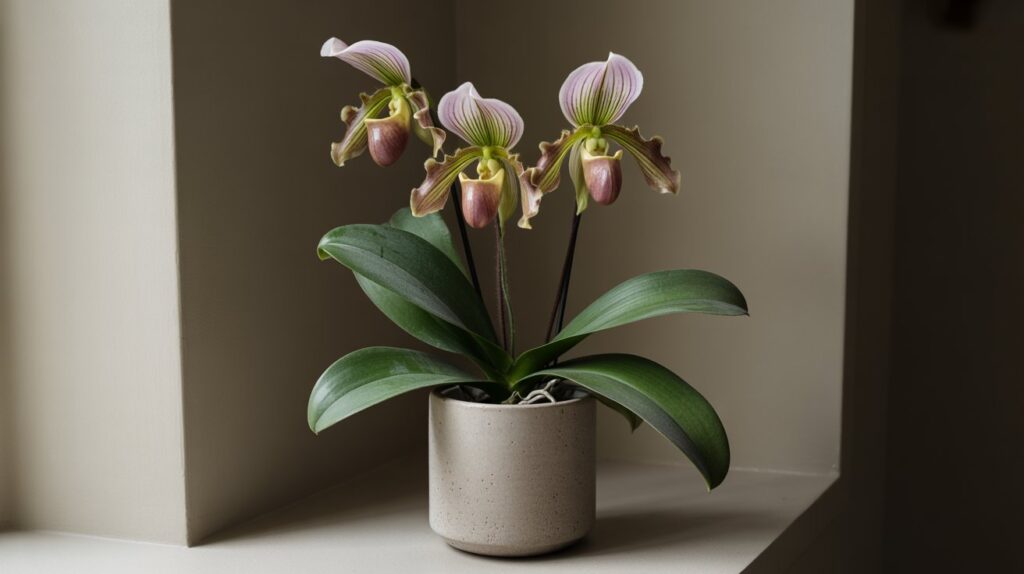
4. Paphiopedilum (Lady Slipper)
Thrives in lower light than most orchids and doesn’t need drying-out periods.
Start With the Right Specimen
If you’re new to orchids, Phalaenopsis (moth orchids) are the best place to start. They’re adaptable, forgiving, and thrive in typical home conditions.
Look for:
- Firm, green leaves (not wrinkled or floppy)
- Plump roots (silvery-green is healthy)
- Buds that haven’t fully opened yet for longer bloom time
Avoid plants sitting in standing water or with mushy roots.
Light Requirements (Made Simple)
Orchids don’t want harsh sun, but they do want brightness.
- Provide bright, indirect light.
- East-facing windows are ideal; filtered south light also works.
- Dark green leaves mean the orchid needs more light.
- Yellowish leaves often indicate too much direct sun.
- A happy orchid leaf is olive to medium green.
Charming Garden Tip: A sheer curtain is the easiest way to soften bright light and create a gentle, botanical glow.
Watering Needs (No Overthinking Required)
Orchids dislike being constantly wet—but they don’t want to be completely dry either.
The simplest approach:
- Water once every 7–10 days.
- Use room-temperature water.
- Let water run thoroughly through the pot to saturate the bark.
- Allow excess water to drain completely—no standing water.
How to know it’s time to water:
- The pot feels light.
- Roots look silvery rather than green.
And skip the ice cube hack—cold water stresses orchids and slows growth.
Humidity and Airflow
A little humidity goes a long way.
- Orchids prefer 40–60% humidity but tolerate typical home levels.
- A pebble tray with water (not touching the pot) gently boosts humidity.
- They appreciate airflow but not drafts or strong vents.
Potting Mix and Repotting
This surprises many beginners: orchids are not potted in soil.
- Use an orchid-specific bark mix.
- Repot every 1–2 years, ideally after blooming finishes.
- Choose pots with excellent drainage—clear plastic inserts or slotted orchid pots are perfect.
Feeding Requirements (Less Is More)
Orchids don’t need heavy feeding, but a little consistent nutrition helps them grow stronger leaves, healthier roots, and better blooms over time.
The easiest rule to remember is this: feed lightly and regularly during active growth.
How Often to Feed
- Feed orchids about once a month during spring and summer.
- Reduce feeding in fall and winter when growth naturally slows.
If you prefer a routine, you can also use a very diluted fertilizer every other watering during the growing season.
What to Use
- Choose a balanced orchid fertilizer (often labeled 20-20-20 or “orchid food”).
- Always dilute it to half or quarter strength—orchids are sensitive to excess salts.
How to Apply
- Water the orchid first so roots are already damp.
- Apply diluted fertilizer, letting it drain fully through the pot.
- Never fertilize a completely dry orchid.
Signs of Overfeeding
- White crust on the bark or pot
- Leaf tip burn
- Slowed growth instead of improvement
If this happens, flush the pot thoroughly with plain water to rinse away buildup.
Charming Garden Tip: Feeding is meant to support healthy care, not replace it. Proper light and watering matter far more than fertilizer, so don’t stress if you forget a feeding here and there.
Common Orchid Problems and How to Fix Them
Droopy Leaves
Often underwatering or low humidity. Water more deeply and increase moisture levels slightly.
Wrinkled Pseudobulbs
Typical in Dendrobium and Oncidium orchids. Usually caused by underwatering or overly dry bark.
Brown Leaf Tips
Often due to low humidity or mineral-heavy tap water. Try filtered or distilled water.
No Blooms
Usually caused by insufficient light. Move the orchid to a brighter location.
Mushy Roots
Overwatering. Trim the affected roots with sterile scissors and repot in fresh bark.
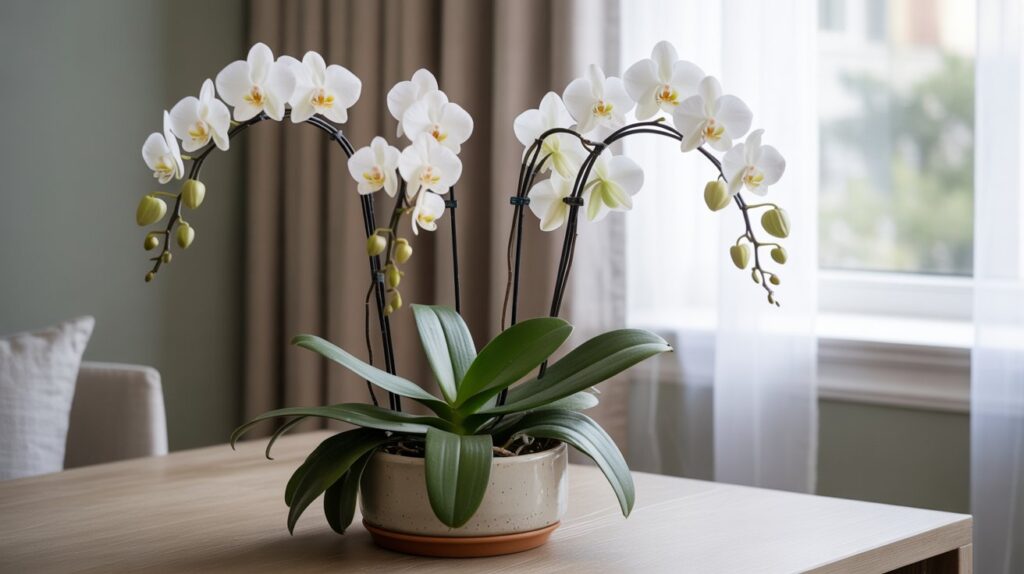
Encouraging Your Orchid to Rebloom
Reblooming takes patience, but it’s absolutely possible.
- After blooms fall, don’t cut a green spike—Phalaenopsis may rebloom from it.
- Keep providing bright, indirect light and steady care.
- Slightly cooler nights (around 65–68°F) often help trigger a new spike.
When you spot that new spike emerging, celebrate—it means your plant is thriving.
Shop Helpful Products Mentioned in This Article
If you’re setting up your orchid care routine, these product categories can make a big difference—especially for beginners.
- Orchid pots with drainage or clear sides
Proper drainage and airflow help prevent root rot and overwatering issues. - Orchid potting mix (bark-based)
Designed specifically to support healthy orchid roots and fast drainage. - Orchid fertilizer
Light, balanced feeding encourages steady growth and future blooms. - Plant humidity trays
An easy way to increase humidity without daily misting.
Final Thoughts
Orchids are far more resilient than people assume. With thoughtful light, steady watering, and a bit of observation, your home can become a welcoming space for these graceful plants. Over time, caring for them becomes second nature—and their blooms feel like a small everyday luxury.
Please note: This website contains affiliate links. As an Amazon Associate, we earn from qualifying purchases at no additional cost to you.