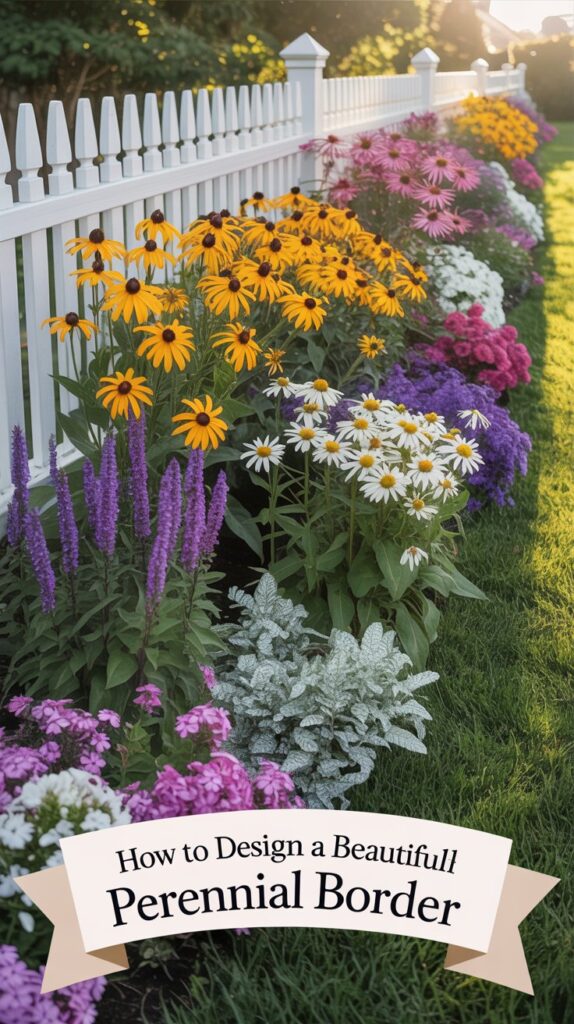
How to Plant a Perennial Border Garden for Long-Lasting Color
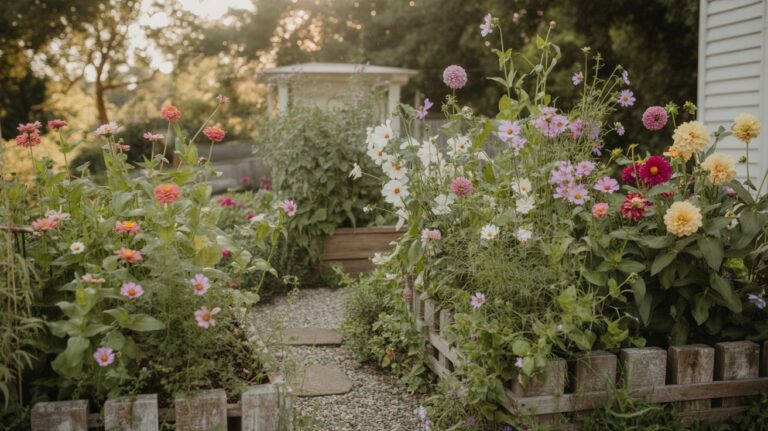
A well-designed perennial border is one of the easiest ways to give your landscape season-long color without replanting every year. Unlike annual beds that need constant refreshing, a perennial border evolves and improves over time. With the right mix of plants and a thoughtful layout, you can weave long-lasting blooms right into your existing landscaping.
Whether you’re edging a walkway, softening the front of a hedge, or filling space along a fence, a perennial border creates layers of texture, color, and structure that return year after year.
What Is a Perennial Border Garden?
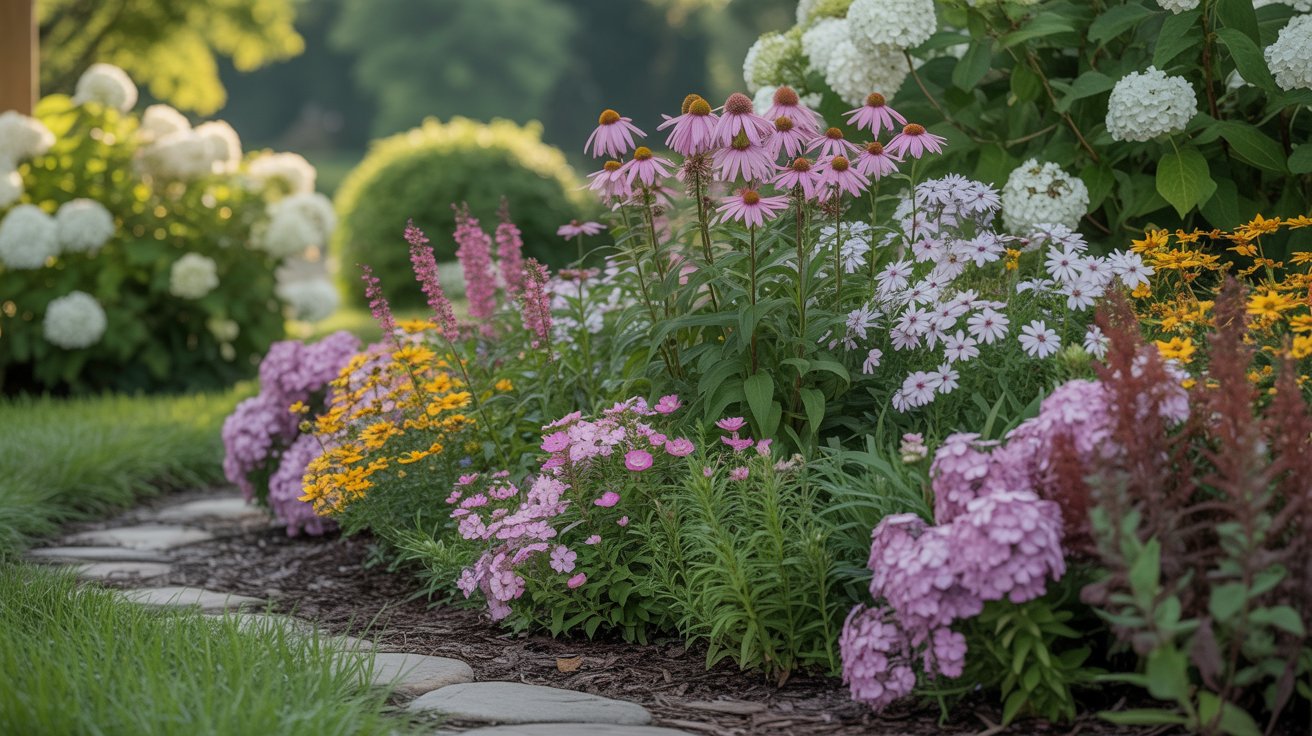
A perennial border is a planted strip of layered perennials that runs along the edge of something — a lawn, pathway, fence, wall, driveway, or existing shrub bed. Traditionally, taller plants are placed toward the back and shorter plants toward the front, creating a soft, natural gradient of height.
The goal is simple: continuous interest from early spring through fall using plants that come back every year.
In Southern gardens especially, perennial borders thrive because the long growing season allows for multiple bloom cycles and extended color.
Where to Add a Perennial Border
Perennial borders work best when they are used to soften hard edges in the landscape.
Great locations include:
- Along front walkways
- In front of foundation shrubs
- Along fences
- Along driveway edges
- At the back of existing flower beds
- Along garden paths
- At the edge of patios or outdoor seating areas
Look for areas where your landscape feels a little flat or static — perennial borders introduce movement, height variation, and seasonal change.
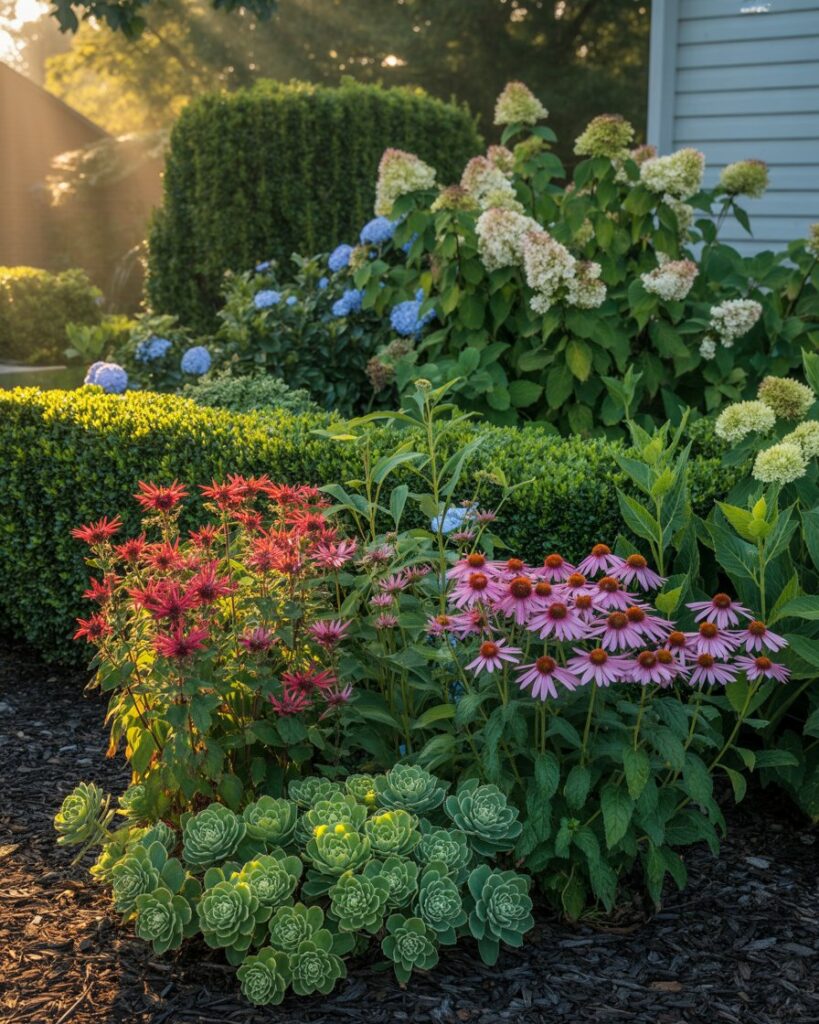
Start With a Layered Planting Plan
The secret to a beautiful perennial border is layering.
Think of the planting like theater seating:
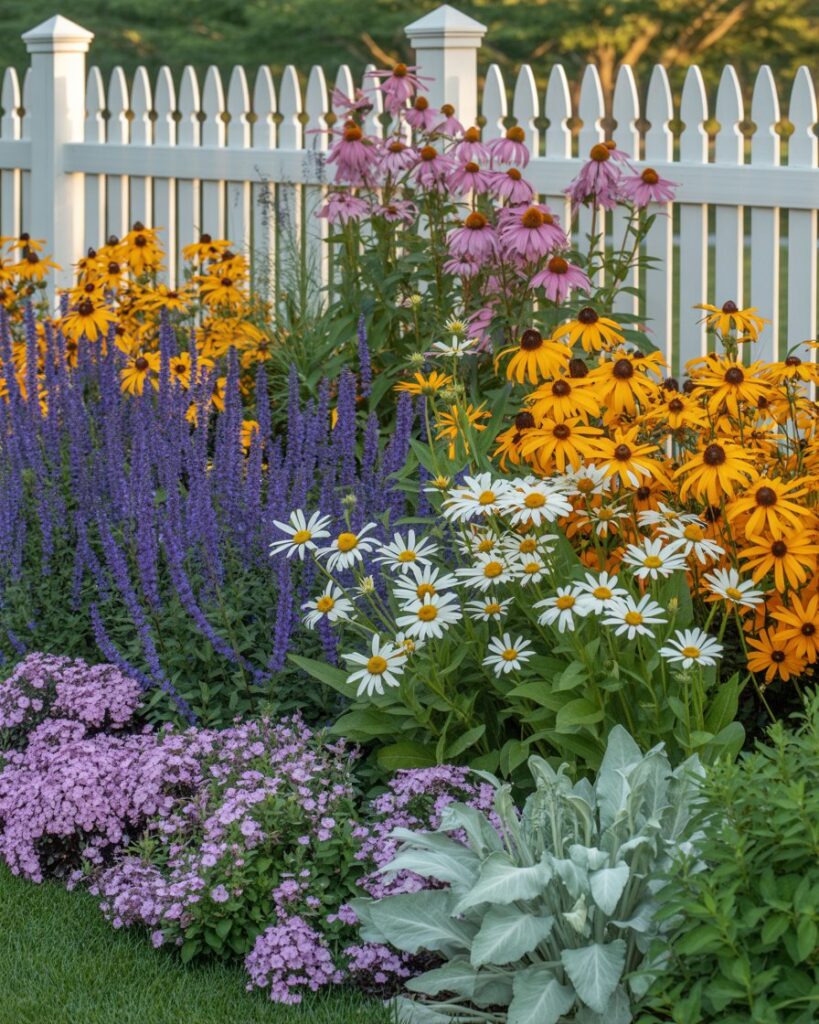
Back row – Tall structure (3–5 ft)
These plants create height and visual anchors.
Good choices include:
- Coneflower
- Black-eyed Susan
- Joe-Pye weed
- Garden phlox
- Delphinium
Middle row – Medium fillers (18–30 inches)
These provide body and color through the middle of the bed.
Examples include:
- Salvia
- Coreopsis
- Shasta daisies
- Veronica
- Bee balm
Front row – Low edging plants (6–15 inches)
These soften the border edge and spill toward walkways.
Great options:
- Creeping phlox
- Dianthus
- Coral bells
- Lamb’s ear
- Dwarf daylilies
This tiered approach keeps the border from looking messy and ensures every plant is visible.
Choose Plants With Staggered Bloom Times
The biggest mistake beginners make with perennial borders is planting everything that blooms at the same time.
Instead, build a bloom sequence so something is always flowering.
Early Spring
- Creeping phlox
- Columbine
- Dianthus
Late Spring to Early Summer
- Salvia
- Coreopsis
- Shasta daisies
Midsummer
- Coneflowers
- Bee balm
- Garden phlox
Late Summer to Fall
- Black-eyed Susans
- Sedum
- Asters
This layered bloom schedule keeps your border colorful for months instead of just a few weeks.
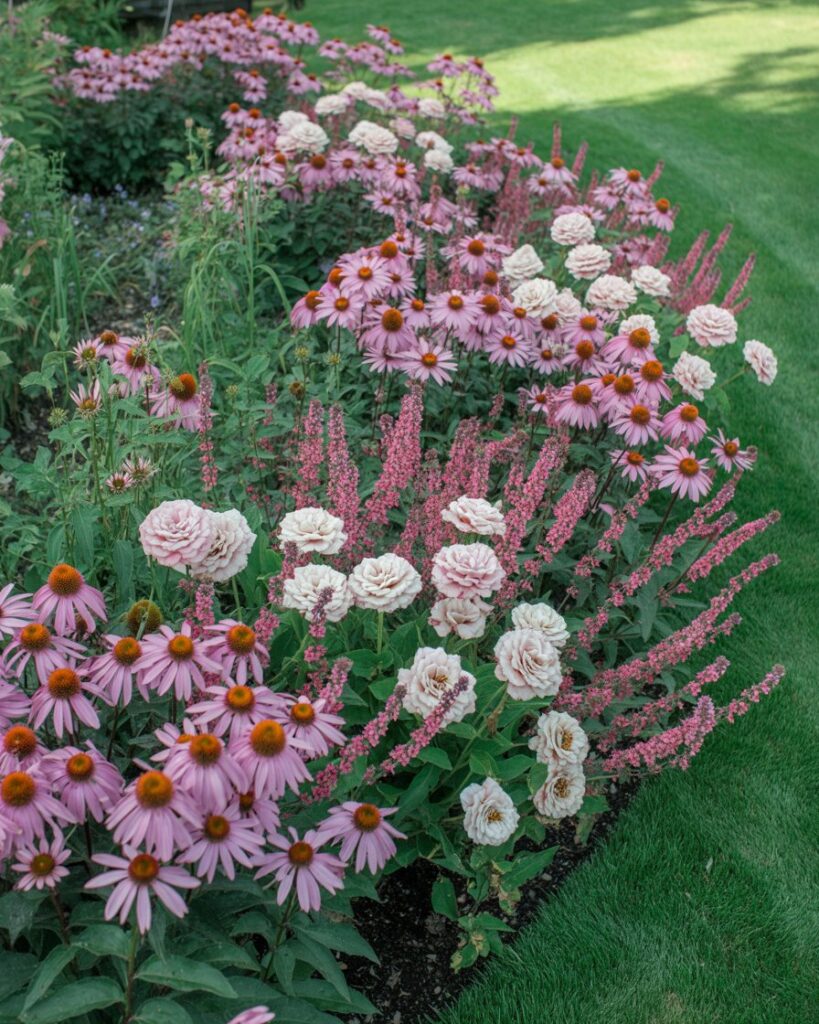
Repeat Plants for a Professional Look
Professional garden designers rarely plant one of everything.
Instead, they repeat groups of plants throughout the border.
For example:
- Plant 3–5 coneflowers together
- Repeat that same grouping farther down the bed
- Add clusters of salvia between them
- Edge the front with repeating patches of creeping phlox
Repeating plants creates rhythm and prevents the border from looking random.
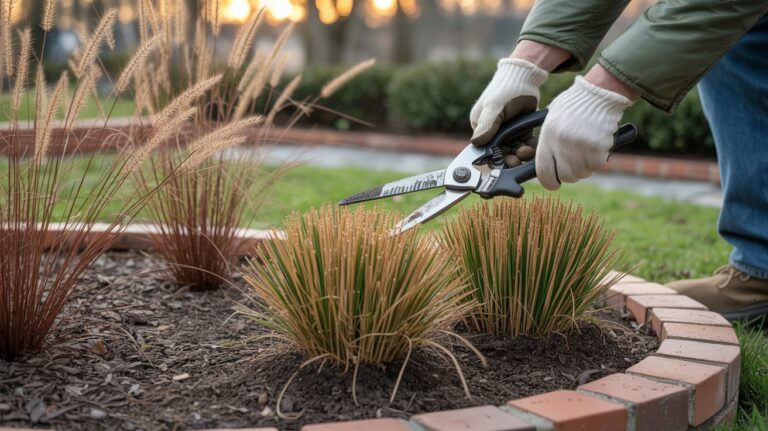
Leave Room for Growth
Perennials start small, but most spread over time.
Check the mature width on plant tags and space plants accordingly. A border that looks slightly sparse in year one will often fill in beautifully by year two or three.
Overcrowding leads to:
- Poor airflow
- Fungal issues
- Plants competing for nutrients
- Constant dividing
A little patience pays off.
Improve the Soil Before Planting
Healthy perennial borders start below the surface.
Before planting:
- Remove weeds and grass
- Loosen soil 10–12 inches deep
- Mix in compost or aged organic matter
- Add mulch after planting
This gives perennial roots room to establish deeply, making them more drought tolerant later.
Add Texture With Foliage Plants
Not every plant in the border needs to bloom.
Foliage plants provide contrast and keep the border interesting even between bloom cycles.
Excellent foliage companions include:
- Coral bells
- Lamb’s ear
- Ferns
- Ornamental grasses
- Hostas (in shade borders)
Mixing leaf shapes and textures creates a more natural garden feel.
Low-Maintenance Perennials That Thrive in Southern Gardens
If you want a border that largely takes care of itself, start with reliable performers:
- Coneflower
- Black-eyed Susan
- Salvia
- Coreopsis
- Daylilies
- Sedum
- Garden phlox
- Bee balm
These plants tolerate Southern heat and humidity and return reliably each year.
Mulch for a Finished Look
Once your border is planted, apply 2–3 inches of mulch.
Mulch helps:
- Retain moisture
- Suppress weeds
- Regulate soil temperature
- Make the border look polished and finished
Pine straw, shredded bark, and hardwood mulch all work well in perennial beds.
The First Year vs. the Third Year
Perennial borders follow a predictable pattern:
Year 1: Plants establish roots. The border may look sparse.
Year 2: Plants begin filling in. Bloom cycles increase.
Year 3: The border reaches its full potential.
By the third season, your perennial border should feel lush, layered, and colorful — with far less work than annual beds.
Final Thoughts
Perennial borders are one of those garden features that get better every year. The first season might feel a little sparse, but patience pays off. As plants mature and fill in, the border becomes a living tapestry of color, texture, and movement that changes with the seasons.
With thoughtful layering, staggered bloom times, and a handful of reliable plants, you can transform even a simple landscape edge into a long-lasting garden feature that returns year after year.